Last Updated: March 2026
- Always clean before conditioning: Applying conditioner over surface dirt seals grime into the leather and prevents proper absorption. Clean first, let dry fully, then condition.
- Use a dedicated leather conditioning cream or balm: These absorb correctly, leave no greasy residue, and are formulated for leather fibres. Avoid cooking oils, olive oil, and household moisturisers.
- Apply with a soft cloth in circular motions: A coin-sized amount is sufficient for most bags. Work systematically across the full surface and allow at least one hour to absorb overnight for very dry leather.
- Every three to six months for regular use: Daily-use bags need conditioning twice a year as a minimum. Bags in dry climates or heavy use benefit from conditioning every two to three months.
- Spot test every new product: Conditioners can darken leather, particularly oil-heavy products. Always test on a hidden area and assess the dried result before applying it to the full bag.
WHAT YOU NEED TO KNOW
- Conditioning is not the same as cleaning: A conditioner replenishes natural oils inside the leather fibres to restore flexibility and prevent cracking. A cleaner removes surface dirt and residue. Both are needed, but they serve completely different functions and must be done in the correct order: clean first, then condition.
- Leather moisturises like skin: The analogy is accurate and useful. Leather is animal skin that has been processed. Like human skin, it loses natural oils over time through exposure to air, heat, sunlight, and use. Conditioning replenishes those oils and keeps the fibres flexible enough to withstand daily stress without cracking.
- The signs of dryness appear well before cracking: Dullness, a chalky surface appearance, slight stiffness, and early surface lines at flex points are all warning signs that appear before visible cracking. Conditioning at these early signs prevents damage from progressing.
- Over-conditioning is a real risk: More is not better. Conditioning more frequently than every two to three months oversaturates leather fibres and weakens their structure over time. The schedule matters as much as the product.
- Conditioner type affects colour: Heavier oil-based products, particularly those high in neatsfoot or mink oil, darken leather more than cream-based conditioners. The choice of product should account for the colour and finish of your leather.
Leather is a material that rewards consistent, simple care.
Moisturising it correctly on a regular schedule prevents the overwhelming majority of surface damage, cracking, and premature ageing that leather bags develop over time.
Done incorrectly, conditioning can leave leather greasy, change its colour, seal in surface dirt, or oversaturate the fibres, all of which cause their own problems.
This guide covers the complete process: recognising when leather needs conditioning, choosing the right product, the step-by-step application method, frequency guidance for different use patterns, and the most common mistakes to avoid.
How to Know When Your Leather Bag Needs Moisturizing
The correct time to condition leather is when the signs of dryness first appear, not on a fixed calendar date, and not only when the leather looks seriously worn.
Four early warning signs indicate that conditioning is due.
Dull or chalky surface appearance
Healthy conditioned leather has an even, natural sheen.
When it starts to look matte, dull, or slightly powdery, the surface oils have depleted to a point where the fibres need replenishing.
This is the earliest and most reliable sign.
Reduced suppleness
Run your hand across the leather. Well-conditioned leather flexes smoothly and returns to shape easily.
Leather that needs conditioning feels slightly stiffer or less pliable than when it was new or last conditioned.
Colour lightening
Leather that is losing moisture often appears lighter or more faded than its original colour.
This happens because the oils that carry and fix the leather's colour are depleting.
Conditioning restores the depth of colour as the fibres rehydrate.
Fine surface lines at flex points
The areas around handles, strap attachment points, and corners where the leather bends regularly during use are the first areas to develop fine surface lines.
These are the precursors to cracking and should trigger immediate conditioning.
If any one of these signs is present, conditioning is due regardless of when the bag was last conditioned.
If none of these signs are present, conditioning on the regular schedule covered later in this article is sufficient.
Choosing the Right Leather Conditioning Product
The product you choose has a direct effect on how well the conditioning works and on whether the leather's colour or texture changes.
Three main product types are available.
Leather Conditioning Cream
A leather conditioning cream is the most practical choice for most genuine leather bags.
Creams are balanced formulas that penetrate the leather fibres and replenish oils without leaving a heavy, greasy residue on the surface.
They produce the least colour change of any conditioner type, which makes them safe for use on light-coloured, natural-finish, and darker leather alike.
For regular maintenance, conditioning every three to six months, a conditioning cream is the right product for most people.
Conditioning Oil or Balm
Oil-based conditioners and balms, including products containing neatsfoot oil, mink oil, or lanolin, penetrate more deeply than creams and are more effective at rehydrating severely dry leather.
They are the better choice when leather has been neglected for an extended period and has become noticeably stiff or is showing early surface lines.
The tradeoff is that oil-heavy conditioners darken leather more than creams, and some can overly soften structured bags if applied too generously.
Use these products sparingly and assess the dried result after each application before deciding whether a second coat is needed.
Wax-Based Conditioner
Wax conditioners prioritise surface protection over deep moisturisation.
They create a water-resistant barrier on the leather surface and restore a polished sheen, but they do not penetrate as deeply as cream or oil conditioners.
They are best used as a finishing product after conditioning with a cream or oil, or for leather that is in good condition and primarily needs surface protection rather than rehydration.
What to Avoid
- Olive oil: Goes rancid inside leather fibres relatively quickly and causes odour. It also darkens leather and is difficult to remove once absorbed.
- Coconut oil: Darkens leather significantly. Can go rancid over time in the fibre structure. Suitable only for dark-coloured leather and short-term use, not as a regular conditioning product.
- Vaseline or petroleum jelly: Sits on the surface rather than penetrating. Creates a sticky residue that attracts dust, degrades leather finishes over time, and is very difficult to remove.
- Household moisturisers or body lotion: Formulated for human skin, not leather fibres. Can cause discolouration, degradation of the surface finish, and unpredictable absorption patterns.
- Silicone-based products: Coat the surface and prevent the leather from breathing, which traps moisture internally and can cause mould and deterioration over time.
If you prefer to make your own conditioning product at home, the guide on how to make your own leather conditioner at home covers the two safest natural recipes using beeswax, neatsfoot oil, and jojoba oil with full preparation instructions.

Step-by-Step: How to Moisturize a Leather Bag
Step 1: Clean the Leather First
Conditioning over a dirty surface is one of the most common leather care mistakes.
When conditioner is applied over surface dirt, oils from handling, and environmental residue, it seals that material into the leather rather than removing it.
The conditioner cannot absorb properly and produces uneven darkening or a slightly tacky finish as the residue and conditioner mix on the surface.
Before every conditioning session, wipe the full surface with a dry lint-free cloth to remove loose dust.
If the bag is noticeably soiled, use a leather-specific cleaner applied to a damp cloth and allow the leather to dry fully at room temperature, away from direct heat, before applying any conditioner.
The guide on how to clean a leather bag before conditioning covers safe cleaning methods for different leather types and finishes in detail.
Step 2: Spot Test the Conditioner
Before applying any conditioner to the full bag surface, test it on a hidden area first.
The underside of a strap, the interior base, or the back panel at the bottom are all suitable test spots.
Apply a small amount to the hidden area and allow it to absorb and dry fully, typically 30 to 60 minutes for a cream, longer for an oil-based product.
Assess the result in natural light.
Check for colour change (particularly darkening), uneven absorption, or any unexpected surface texture change.
If the result is acceptable, proceed to the full surface.
If the darkening is more than you want, switch to a lighter cream-based conditioner before continuing.
Step 3: Apply Conditioner to the Full Surface
Apply a coin-sized amount of conditioner to a soft, lint-free cloth.
Do not apply conditioner directly to the leather surface.
Applying it to the cloth first gives you better control over how much product reaches the leather and ensures more even distribution.
Work across the full bag surface in gentle, circular motions, section by section.
Pay extra attention to:
- Handle attachment points and seam areas, where the leather experiences the most mechanical stress
- Base corners, which receive constant surface contact during daily use
- Strap sections that flex repeatedly during carry
- Any areas showing dullness or early lines
A thin, even coat absorbs better and penetrates more deeply than a heavy application.
If you apply too much product and the leather feels greasy after the first pass, switch to a fresh section of cloth and buff the excess away before it dries.
Step 4: Allow Full Absorption
Once applied, the conditioner needs time to penetrate the leather fibres.
For cream-based conditioners, allow at least one hour before assessing whether a second coat is needed.
For very dry leather that has been under-conditioned for an extended period, leaving the conditioner to absorb overnight produces the best result.
Do not use the bag; store it in an enclosed space or apply heat to speed up the drying process during this period.
The leather should be left in a well-ventilated room at room temperature.
For full guidance on absorption times for different conditioner types and how to tell when the leather is ready for use, the article on how long leather conditioner takes to absorb covers the full range of drying variables by conditioner type.
Step 5: Buff and Finish
Once the conditioner has fully absorbed and the surface is no longer tacky to the touch, buff the full bag surface with a clean, dry cloth.
Use gentle, overlapping strokes rather than vigorous rubbing.
Buffing removes any surface residue that has not absorbed into the fibres and brings up the leather's natural sheen.
The finished surface should feel smooth, slightly firm, and not greasy.
If it still feels tacky or greasy after buffing, the conditioner was applied too heavily, and the next session should use noticeably less product.
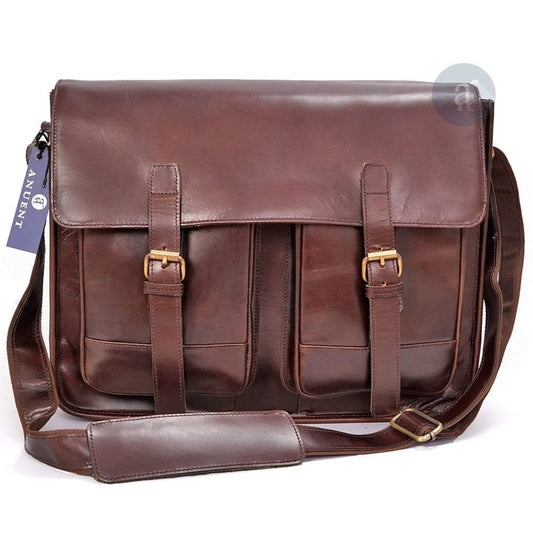
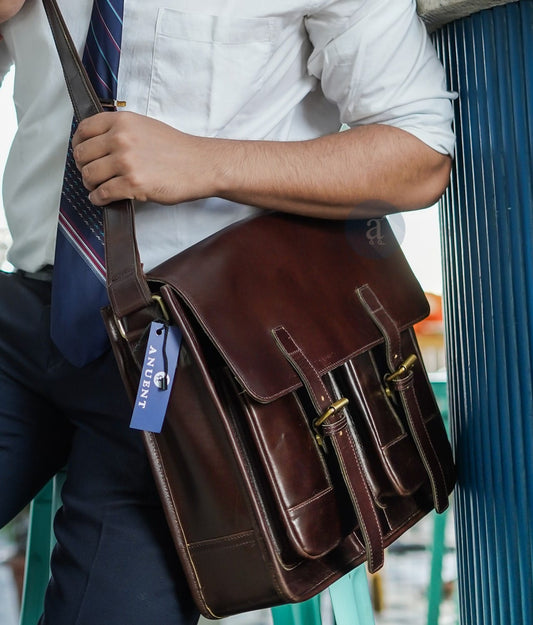
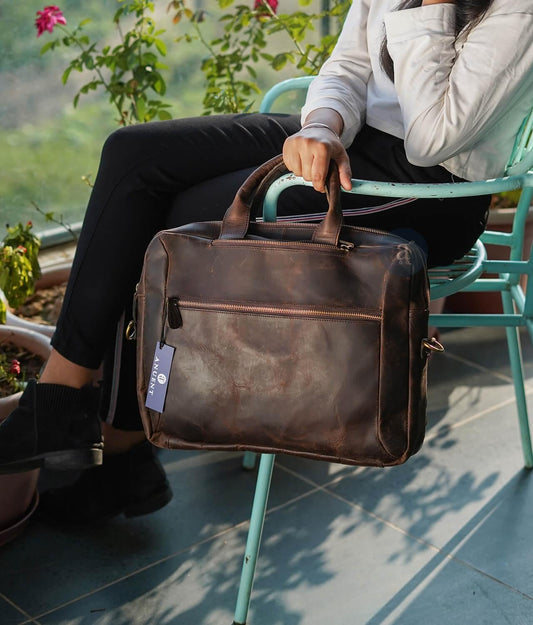
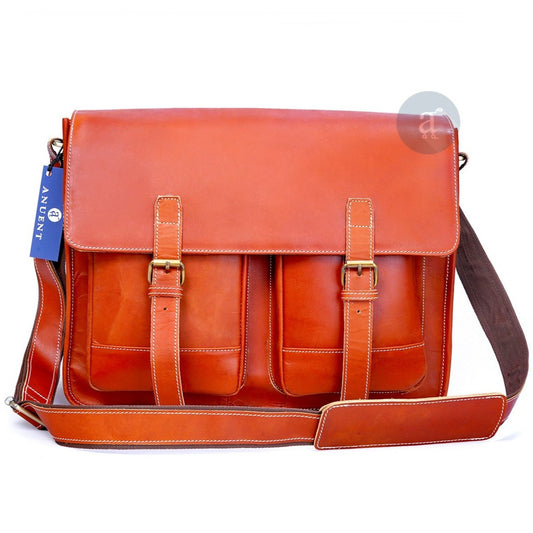
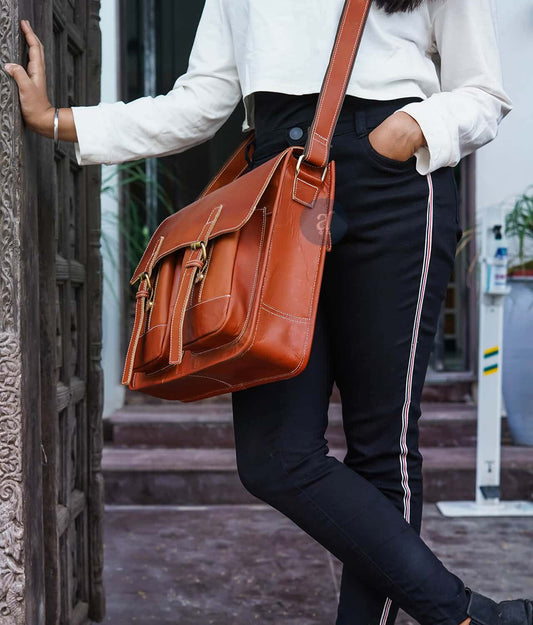
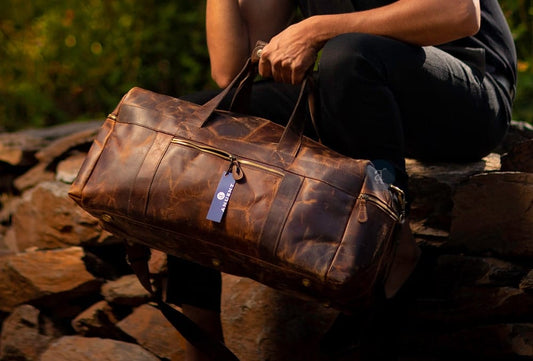
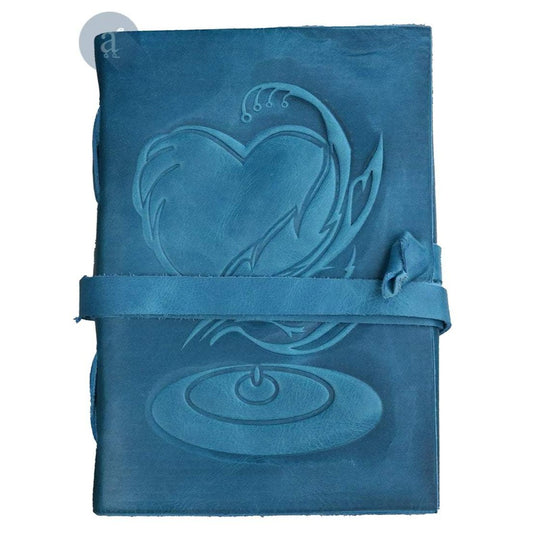
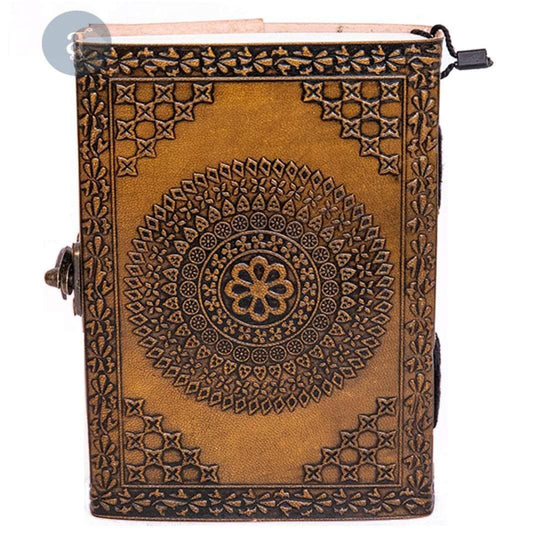
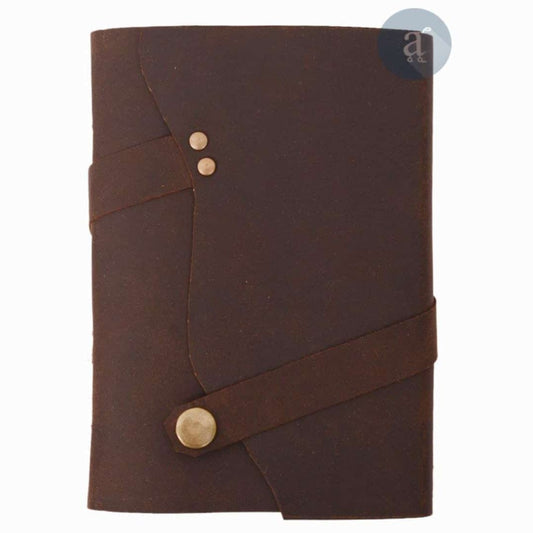
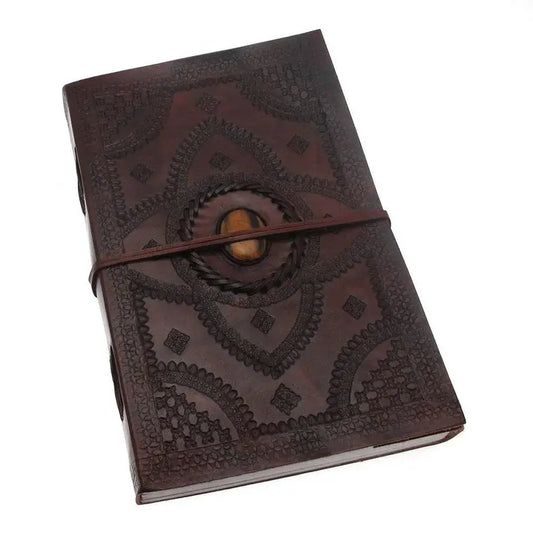
GENUINE LEATHER THAT REWARDS CONDITIONING
Leather Bags That Improve With Every Care Session
Every Anuent bag is expertly crafted from genuine leather that absorbs conditioning and develops a natural character with regular care. Free shipping to USA, UK, and Canada. Free monogramming on every order.
How Often to Moisturize Leather: A Schedule by Use Pattern
The correct conditioning frequency depends on how often the bag is used, the climate it is used in, and the conditions it is exposed to.
| Use Pattern | Recommended Frequency | Notes |
|---|---|---|
| Daily-use bag, temperate climate | Every 3 to 6 months | Standard schedule for most users |
| Daily-use bag, dry or hot climate | Every 2 to 3 months | Heat and low humidity accelerate oil depletion |
| Occasional-use bag (weekends, events) | Every 6 to 12 months | Less use means less mechanical stress on fibres |
| Bag stored for a season or longer | Before storage and after retrieval | Conditioning before storage prevents drying out during long rest periods |
| Bag exposed to rain, sun, or salt regularly | Every 4 to 6 weeks during the heavy exposure period | Environmental damage depletes oil faster than normal use alone |
Never condition more frequently than once every two months, regardless of circumstances.
If the leather looks dull after a recent conditioning session, the issue is more likely with the product applied or the amount used rather than a need for more frequent conditioning.
Special Considerations for Different Leather Types
Vegetable-Tanned Leather
Vegetable-tanned leather is the most responsive to conditioning of any leather type.
It absorbs oils readily, and its natural surface allows conditioners to penetrate deeply into the fibre structure.
It darkens noticeably when conditioned and develops a rich patina over time.
This is a desirable characteristic, not a problem.
Use a conditioning cream or a balanced oil-based product at the standard three to six-month schedule.
Chrome-Tanned Leather
Chrome-tanned leather is softer and more supple than vegetable-tanned leather from the outset and absorbs conditioning more slowly due to its different fibre structure.
A conditioning cream is the right product for most chrome-tanned bags.
It darkens less than vegetable-tanned leather and recovers its original colour more quickly after conditioning.
Suede and Nubuck
Suede and nubuck must not be treated with standard leather conditioners.
These surface types require specialist suede conditioning sprays and dry suede brushes.
Applying cream or oil conditioners to suede or nubuck will mat the surface fibres and permanently change the texture.
If you are unsure whether your bag is suede, nubuck, or smooth leather, consult the product care label or the retailer before applying any conditioning product.
Leather Purses
Smaller leather purses often have finer leather panels and tighter seam construction than larger bags.
Apply conditioner in smaller amounts and with particular care around metal hardware to avoid product contact with clasps and zips.
The specific step-by-step process for conditioning a leather purse covers the application technique for smaller leather items in detail, including how to protect interior linings and hardware during the process.
Conditioning as Crack Prevention
The most important function of regular leather moisturising is prevention rather than restoration.
Leather that is conditioned consistently on schedule almost never develops the brittleness that leads to cracking, because the fibre structure maintains the flexibility it needs to withstand daily mechanical stress.
The guide on how to keep your leather bag from cracking covers the full set of prevention habits alongside the conditioning schedule, including storage, heat avoidance, and how to address the early warning signs before surface damage develops.
For the broader care routine that sits around conditioning, including cleaning schedules, storage practices, water damage response, and seasonal adjustments, the full leather care guide for bags covers every aspect of ongoing leather maintenance in one reference.
Frequently Asked Questions
How do you moisturize a leather bag?
Clean the leather surface first and allow it to dry fully.
Apply a coin-sized amount of leather conditioner to a soft, lint-free cloth and work it into the leather in gentle, circular motions across the full surface.
Allow the conditioner to absorb for at least one hour, or overnight for very dry leather.
Buff with a clean, dry cloth to remove any surface residue and restore the leather's natural sheen.
How often should you moisturize a leather bag?
For leather bags used daily, conditioning every three to six months is the recommended schedule.
Bags used in dry climates or exposed to frequent sunlight may benefit from conditioning every two to three months.
The clearest signal that conditioning is overdue is when the leather surface begins to look dull or chalky.
Never condition more frequently than once every two months, as oversaturation weakens the leather fibre structure over time.
What is the best product to moisturize leather?
A dedicated leather conditioning cream is the best product for moisturising most leather bags.
These are formulated specifically for leather, absorb without leaving a greasy residue, and produce the least colour change of any conditioner type.
For deeper conditioning of very dry leather, a lanolin-based conditioner or a light neatsfoot oil blend penetrates more effectively.
Avoid cooking oils, olive oil, and general-purpose household moisturisers.
Can you use Vaseline to moisturize leather?
No.
Vaseline sits on top of the leather rather than penetrating the fibres, creating a sticky residue that attracts dust and dirt, and can degrade leather finishes over time.
Use a dedicated leather conditioner instead.
What are the signs that leather needs moisturizing?
The four main signs are: the surface looks dull or chalky rather than having a healthy, even sheen; the leather feels stiffer or less supple than when new; fine surface lines are appearing at flex points; and the leather looks lighter or more faded in colour than usual.
These signs appear before visible cracking begins, and conditioning at this stage prevents the damage from progressing further.
Does conditioning leather darken it?
Most conditioners cause temporary darkening as the oils absorb, which lightens back toward the original colour as the product fully dries.
Oil-heavy conditioners, particularly those high in neatsfoot or mink oil, can cause more lasting darkening on lighter-coloured leather.
Always spot test on a hidden area before applying any new conditioner to the full surface.
Can you over-moisturize leather?
Yes.
Conditioning more frequently than every two to three months oversaturates the leather fibres, which can weaken their structure, cause the leather to become soft and shapeless, and make it more susceptible to staining.
The correct approach is conditioning on schedule every three to six months, not at the first sign of any surface dullness between sessions.
Is coconut oil good for moisturizing leather?
Coconut oil moisturises leather in the short term but darkens it significantly and can go rancid inside the fibres over time, causing odour.
For a DIY option, jojoba oil or sweet almond oil is a safer choice with more neutral effects on leather colour.
For regular conditioning, a dedicated leather cream is the better long-term choice.
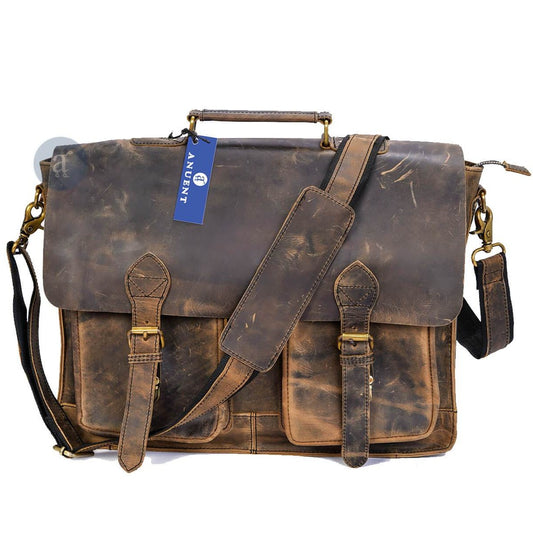
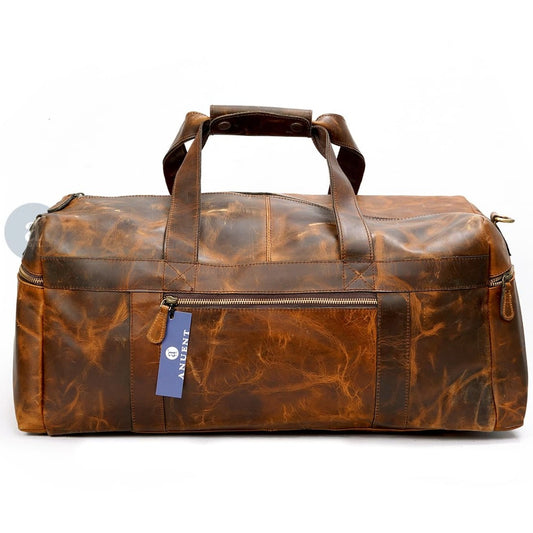
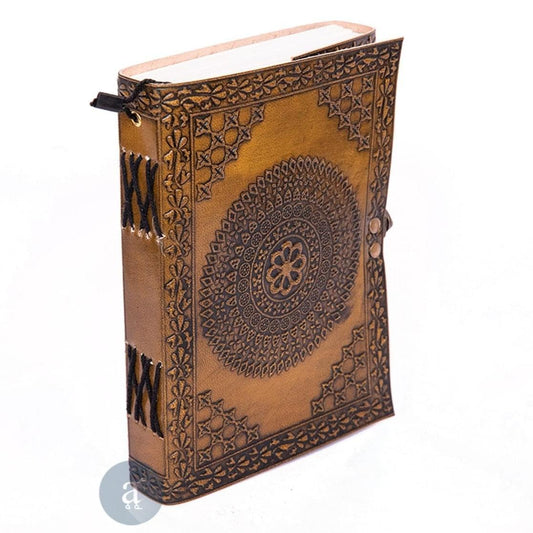
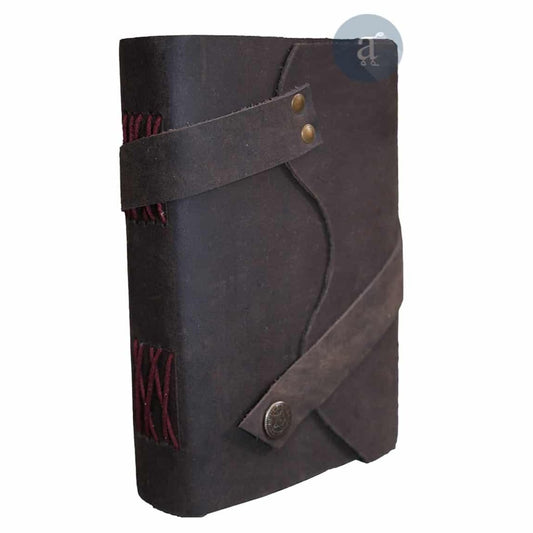
BUILT FROM LEATHER THAT LASTS
Genuine Leather Bags That Age Well With Regular Care
Every Anuent bag is expertly crafted from genuine leather, designed to absorb conditioning and improve in character with age. Free shipping to the USA, UK, and Canada. Free monogramming on every order.