Last Updated: March 2026
- Core ingredients: Beeswax as the base (provides a surface barrier and consistency) and one natural oil as the conditioning agent. Neatsfoot oil, sweet almond oil, and jojoba oil are the safest oil choices for most leather types.
- Ratio to start with: 1 part beeswax to 4 parts oil produces a soft, easy-to-apply conditioner balm. More beeswax produces a firmer paste. More oil produces a softer balm.
- Always patch test first: Natural oils darken leather to varying degrees. Test on a hidden area and assess the dried result before applying it to the full bag.
- Coconut oil caveats: It conditions well but darkens leather significantly and can go rancid inside the fibres over time. Use it on dark-coloured leather only and not as a regular long-term product.
- Avoid olive oil: It goes rancid in leather fibres relatively quickly and causes odour. Jojoba oil, sweet almond oil, and neatsfoot oil are more stable alternatives.
WHAT YOU NEED TO KNOW
- A good DIY conditioner is genuinely effective: A beeswax and oil blend replenishes leather fibres, provides a light surface barrier, and maintains suppleness comparably to many commercial products for regular maintenance use.
- The five steps cover making and applying: Steps 1 to 3 cover preparation and making the conditioner. Steps 4 and 5 cover applying it correctly and completing the treatment. All five steps are needed for a good result.
- Oil selection matters more than most guides acknowledge: Different oils produce different results on leather. Some darken it significantly, some go rancid over time, and some are neutral. Choosing the right oil for your leather colour and type is a real decision, not just a preference.
- The double-boiler method is safer than direct heat: Natural waxes and oils are flammable. Always melt them over indirect heat using a double boiler or a glass bowl over simmering water, never directly in a pan over a flame.
- DIY conditioner is best for maintenance, not restoration: A homemade conditioner is well-suited for the regular three-to-six-month conditioning schedule. For severely dried or cracked leather, a commercial conditioner with stabilisers and tested penetration properties is the safer choice.
Making your own leather conditioner at home is straightforward, inexpensive, and produces a product that works well for regular leather maintenance.
The ingredients are widely available, the process takes less than thirty minutes, and the resulting conditioner stores well for several months.
This guide covers two recipes of increasing complexity, the role each ingredient plays, the complete five-step process from preparation through application, and the most common mistakes that produce poor results or damage leather.
Before applying any conditioner, cleaning the leather surface first is essential.
The guide on how to clean your bag before applying conditioner covers safe cleaning methods for different leather types and finishes without risking surface damage.
Understanding the Ingredients
A leather conditioner has two functional components: a conditioning agent that penetrates the leather fibres to replenish oils, and a protective agent that sits on the surface to create a barrier.
In a DIY conditioner, natural oils serve as the conditioning agent, and beeswax typically serves as the protective agent.
Beeswax
Beeswax is the foundation of most solid and semi-solid leather conditioner recipes.
It provides the product with its balm or paste consistency, creates a protective film on the leather surface after application, helps retain the conditioning oils within the leather fibres, and adds a degree of water resistance.
Beeswax pellets are the easiest form to work with because they melt evenly.
A solid block of beeswax can be grated into small pieces to speed up melting.
The ratio of beeswax to oil determines the finished consistency: more beeswax produces a firmer, more paste-like product; less beeswax produces a softer balm that spreads more easily.
Natural Oils: Choosing the Right One
The oil is the active conditioning ingredient that penetrates the leather fibres and replenishes the natural oils lost through use and environmental exposure.
Different oils perform differently on leather and have different effects on leather colour.
| Oil | Conditioning Effect | Darkening Effect | Shelf Life | Best For |
|---|---|---|---|---|
| Neatsfoot oil | Excellent penetration | Moderate to high | 12 months+ | Dark and medium leather |
| Jojoba oil | Good penetration | Minimal | 12 to 24 months | All leather colours |
| Sweet almond oil | Good penetration | Light | 6 to 12 months | Light and natural finish leather |
| Coconut oil | Good moisturising | High | 3 to 6 months in leather | Dark leather only, short term |
| Olive oil | Moderate | Moderate | Short — goes rancid | Not recommended |
For most genuine leather bags in brown, tan, or dark tones, neatsfoot oil is the most effective choice and has the strongest track record in leather conditioning.
For lighter-coloured leather or natural vegetable-tanned leather where colour preservation matters, jojoba oil or sweet almond oil are safer choices.
Two Recipes: Simple and Advanced
Recipe 1: Two-Ingredient Balm (Beginner)
Ingredients:
- 1 part beeswax pellets
- 4 parts neatsfoot oil or sweet almond oil
What this produces: A soft conditioning balm that is easy to apply with a cloth. Good for regular maintenance conditioning. Low complexity and low risk of errors.
Recipe 2: Four-Ingredient Conditioner Balm (More Advanced)
Ingredients:
- 1 part beeswax pellets
- 2 parts neatsfoot oil
- 1 part sweet almond oil or jojoba oil
- 1/2 part lanolin (optional — adds additional softening and flexibility)
What this produces: A more complete conditioning balm with deeper penetration, a light surface barrier from the beeswax, and enhanced suppleness from the lanolin. The neatsfoot oil provides conditioning depth, and the lighter secondary oil balances the overall darkening effect.
The Five Steps
Step 1: Gather Equipment and Prepare Your Workspace
Gather everything you need before starting. Stopping mid-process to find a container or utensil risks overheating the mixture.
- A glass heatproof bowl or pouring jug
- A saucepan (for the double boiler)
- A rubber spatula or wooden stirrer
- Kitchen scales (more accurate than volume measures for wax)
- An airtight container for storage — a small metal tin or wide-mouth glass jar works best
- Disposable gloves
Protect your work surface with newspaper or a silicone mat.
Beeswax is flammable. Never melt it directly in a pan over a flame.
Always use the double-boiler method: fill the saucepan with two to three inches of water, bring to a gentle simmer, and place your glass bowl on top over the steam.
Step 2: Measure Your Ingredients
Measure your beeswax and oils using a kitchen scale rather than volume measuring cups, as beeswax pellets have a lot of air between them, and volume measures are unreliable for wax.
For a first batch, a total weight of around 120 grams (approximately 4 oz) produces enough conditioner for six to eight full conditioning sessions on a standard leather bag.
Using Recipe 1 at these quantities:
- Beeswax: 24 grams (1 part)
- Neatsfoot or sweet almond oil: 96 grams (4 parts)
If using Recipe 2 at the same total weight:
- Beeswax: 20 grams
- Neatsfoot oil: 40 grams
- Sweet almond or jojoba oil: 40 grams
- Lanolin: 20 grams
Step 3: Melt and Combine
- Set the saucepan of water over medium-low heat and bring to a gentle simmer. You want steam, not a rolling boil.
- Place your glass bowl over the saucepan and add the beeswax first. Beeswax melts more slowly than oil, so give it a head start.
- Stir gently with your rubber spatula as the beeswax melts. Do not rush this step by increasing the heat. Patience produces a smoother, more consistent result.
- Once the beeswax is fully melted and liquid, add the oil or oils in order of heaviest first (neatsfoot or lanolin before lighter oils). Stir until the mixture is fully combined and uniform in colour and consistency.
- Remove the bowl from the heat. Do not allow the mixture to boil at any point. Boiling damages the conditioning properties of the oils.
- Allow the mixture to cool for two to three minutes, then carefully pour it into your storage container.
- Leave the container undisturbed to cool and solidify at room temperature. Do not place it in the fridge or freezer to speed up cooling, as this can cause the beeswax to set unevenly with a grainy texture.
- Full solidification typically takes two to four hours, depending on room temperature and container size.
The finished product should be a firm balm that softens when scooped with a cloth and rubbed in the hand.
If it is too hard, reheat gently and add a small amount of additional oil.
If it is too soft, reheat and add a small amount of additional beeswax in small increments.
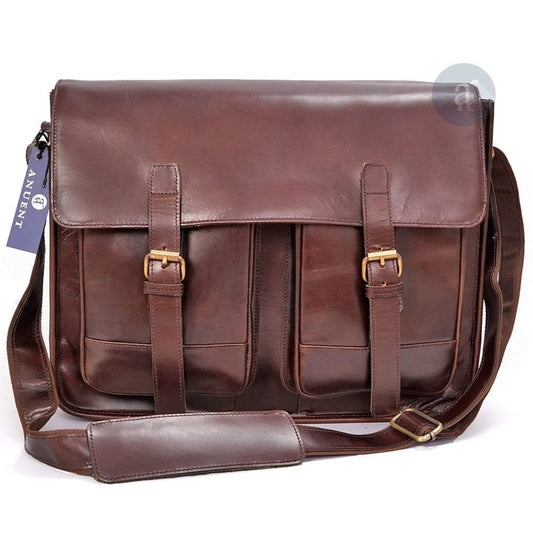
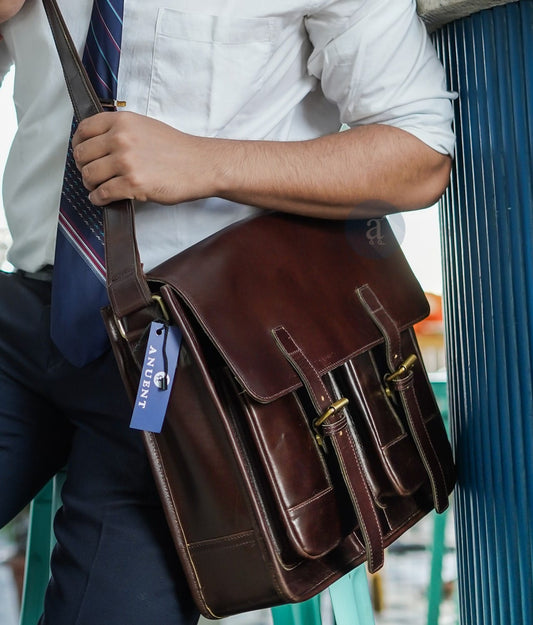
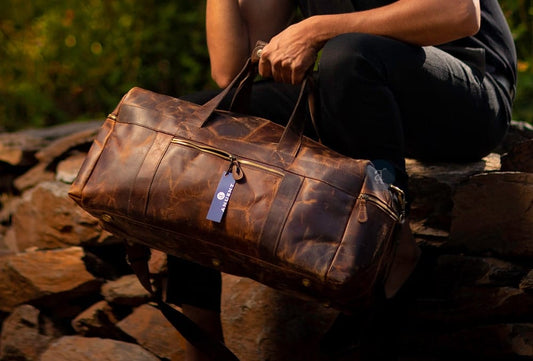
GENUINE LEATHER THAT RESPONDS TO CONDITIONING
Leather Bags That Reward Consistent Care
All Anuent bags are expertly crafted from genuine leather that absorbs conditioning and develops natural character over years of use. Free shipping to USA, UK, and Canada. Free monogramming on every order.
Step 4: Patch Test Before Full Application
Before applying the conditioner to the full bag surface, always test it on a hidden area first.
The underside of a strap, the interior base, or a small area on the back panel are all suitable test spots.
- Scoop a small amount of the conditioner onto a clean soft cloth — a coin-sized amount is sufficient for the test area.
- Apply it to the hidden area using gentle circular motions and allow it to absorb fully. This typically takes 30 to 60 minutes.
- Assess the dried result in natural light. Check for colour change (particularly darkening), uneven absorption, or any surface texture change.
- If the result is acceptable, proceed to the full surface. If the darkening is more than you want, switch to a lighter oil choice (jojoba in place of neatsfoot) and make a second batch before continuing.
This step takes less than an hour and prevents a full conditioning session from producing an unexpected colour result across an entire bag.
Step 5: Apply to the Full Bag Surface
Once the patch test passes, apply the conditioner to the full bag surface.
- Wipe the bag surface once more with a dry lint-free cloth to remove any dust that has settled since the initial cleaning.
- Scoop a coin-sized amount of conditioner onto a soft cloth. The heat of your hand as you work will soften the balm and allow it to spread.
- Work in smooth, circular motions across the leather surface, section by section. Use slightly more product on areas that show dryness or lighter colour.
- Pay particular attention to seams, handle attachment points, and base corners — these high-wear areas benefit most from conditioning.
- Allow the conditioner to absorb fully. For most beeswax-oil balms, this takes one to three hours.
- Once the surface is no longer tacky to the touch, buff lightly with a clean dry cloth to remove any surface residue and bring up the leather's natural sheen.
For guidance on how long the absorption and drying process takes for different conditioner types and conditions, the article on how long your homemade conditioner takes to dry covers the full range of drying variables and how to tell when the surface is ready for use.

Storage and Shelf Life
Store the finished conditioner in an airtight container in a cool, dry location away from direct sunlight.
A beeswax-neatsfoot or beeswax-jojoba conditioner stored correctly lasts six months to one year.
Conditioners made primarily with coconut oil have a shorter usable life of approximately three to six months before the coconut oil begins to go rancid inside the product.
A few drops of vitamin E oil (available from health food stores) added to the mixture before pouring into containers acts as a natural preservative and extends shelf life by several months.
Label your container with the date made.
If the conditioner develops an off or sour smell at any point, discard it and make a fresh batch rather than applying rancid oil to leather.
How Often to Use Your DIY Conditioner
For leather bags in regular daily use, applying your homemade conditioner every three to six months is the correct schedule.
More frequent application oversaturates the fibres and weakens the leather structure over time.
The clearest signal that conditioning is due is when the leather looks dull, dry, or slightly chalky rather than having a healthy, even sheen.
For a complete understanding of the full care routine your leather bag needs beyond conditioning, the guide on a complete leather care routine for genuine bags covers cleaning schedules, storage, water protection, and how to address common problems.
For further reading on how to moisturize leather properly and how to choose between conditioning products, that article covers the frequency question, product types, and the signs that indicate leather needs treatment before visible dryness appears.
Regular conditioning is also the primary way to prevent your leather bag from cracking.
A bag that is conditioned on schedule rarely develops the brittleness that leads to cracking, making the five-minute application process one of the highest-value maintenance habits for any leather bag owner.
Frequently Asked Questions
What is the best homemade leather conditioner?
The most reliable homemade leather conditioner combines beeswax with a natural oil such as neatsfoot oil, sweet almond oil, or jojoba oil.
Beeswax provides a protective surface barrier while the oil penetrates the leather fibres to replenish moisture.
A ratio of one part beeswax to four parts oil produces a soft, easy-to-apply conditioner suitable for most genuine leather bags.
Always patch test on a hidden area first, as natural oils darken leather to varying degrees.
Can I use coconut oil to condition leather?
Coconut oil can be used as a leather conditioner, but it comes with important caveats.
It moisturises the fibres effectively but darkens leather significantly and can go rancid inside the leather over time, causing odour.
It is better suited to dark-coloured leather where darkening is not a concern and for short-term use rather than as a regular long-term conditioning product.
For light-coloured or natural-finish leather, jojoba oil or sweet almond oil are safer choices.
Is homemade leather conditioner as good as commercial products?
A well-made homemade conditioner using beeswax and neatsfoot or jojoba oil is effective at replenishing leather oils and providing a surface barrier.
Commercial conditioners are formulated with more consistent ratios, include stabilisers that extend shelf life, and are tested across a wider range of leather types.
For regular maintenance on most genuine leather bags, a good homemade conditioner performs comparably.
For high-value or delicate leather, a reputable commercial conditioner carries less risk.
Can I use olive oil on leather?
Olive oil is generally not recommended for conditioning leather.
It goes rancid inside leather fibres relatively quickly, causing unpleasant odour and potentially damaging the leather over time.
It also darkens leather noticeably.
Neatsfoot oil, jojoba oil, or sweet almond oil are more stable and safer alternatives.
How long does homemade leather conditioner last?
A beeswax-based homemade leather conditioner stored in an airtight container in a cool, dry location typically lasts six months to one year.
Conditioners made with coconut oil have a shorter usable life of around three to six months.
Adding a few drops of vitamin E oil to the recipe before pouring it into containers extends shelf life by acting as a natural preservative.
Do I need to clean leather before conditioning it?
Yes.
Applying conditioner over a dirty surface seals surface dirt into the leather rather than removing it, prevents proper absorption, and causes uneven coverage.
Always clean the leather with a damp cloth or leather-specific cleaner and allow it to dry fully before conditioning.
Will DIY leather conditioner darken my leather bag?
Most natural oils darken leather to some degree.
Coconut oil and neatsfoot oil darken leather noticeably.
Jojoba oil and sweet almond oil have a more neutral effect.
Always patch test your conditioner on a hidden area and assess the dried result in natural light before applying it to the full bag surface.
How often should I condition a leather bag with a DIY conditioner?
For leather bags used regularly, conditioning every three to six months is the correct schedule using either a commercial or homemade conditioner.
More frequent conditioning than once every two to three months oversaturates the fibres and can weaken their structure over time.
The clearest sign that conditioning is due is when the leather surface looks dull, dry, or slightly chalky.
For leather purses specifically, the guide on conditioning a leather purse step by step covers the application process for smaller leather items in detail.
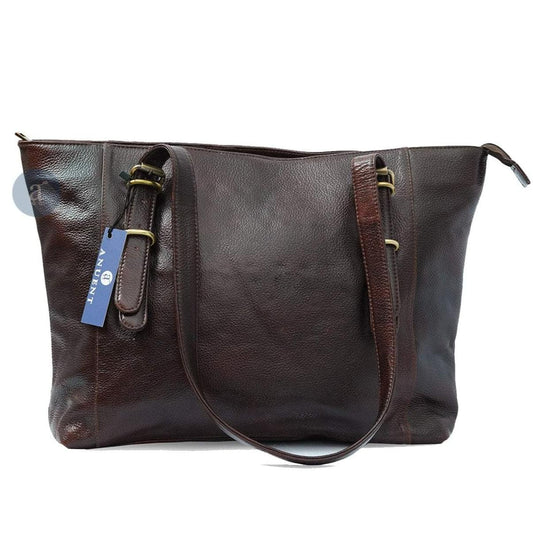
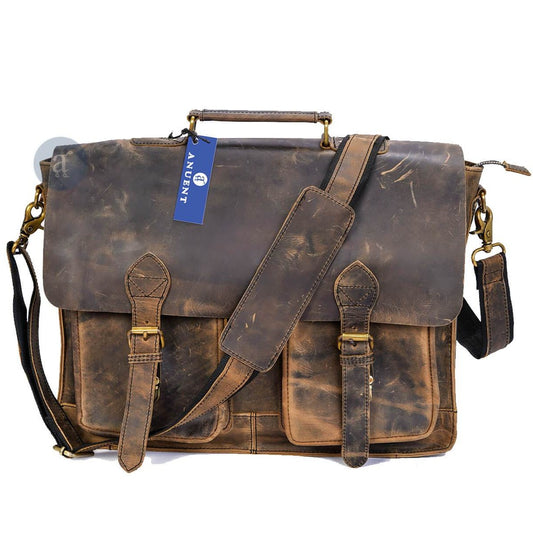
LEATHER THAT REWARDS YOUR CARE
Genuine Leather Bags That Improve With Every Conditioning Session
Every Anuent bag is expertly crafted from genuine leather that responds to conditioning and develops character with regular care. Free shipping to the USA, UK, and Canada. Free monogramming on every order.